Thonny IDE Turorial
This is a short visual tutorial on how to use the Thonny IDE to flash the ESP8266 chip and upload and test the uPy_APDS9960 library
Download and install
The latest version of tonny can be found at thonny.org
In this tutorial we uses the windows version and install Thonny on your computer
Download up Micropython (ESP8266) dev enviroment
Download latest MicroPython firmware for ESP8266
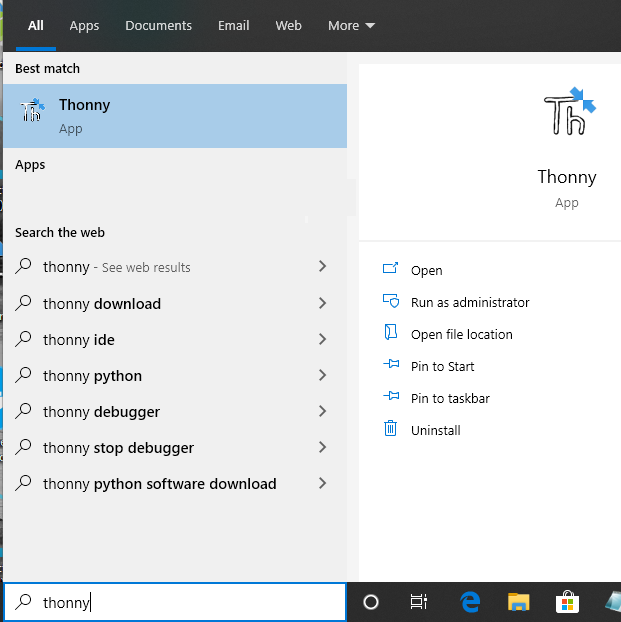
Start Thonny
Flash new firmware
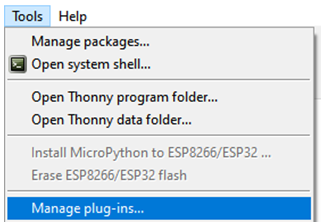
Installing esptool.py
From the menu “Tools” select “Manage Plut-ins…”
In the text field enter “esptool” and click the button “Find packages from PyPI”
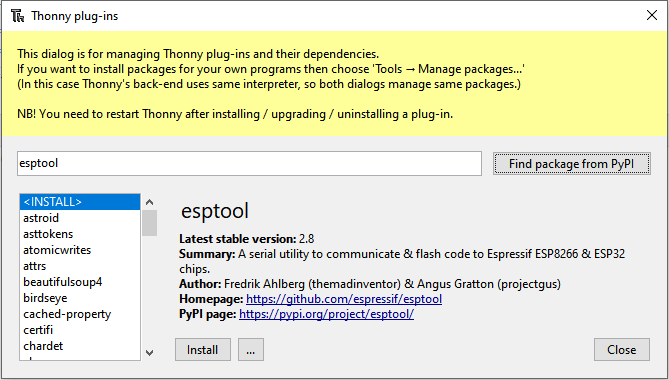
Click the “Install” button to finish the esptool installation
Seting up Micropython (ESP8266) dev enviroment
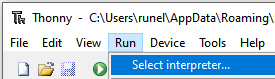
From the menu “Run” select “Select intepreter…”
The ESP8266 firmware install/upgrade dialog is shown
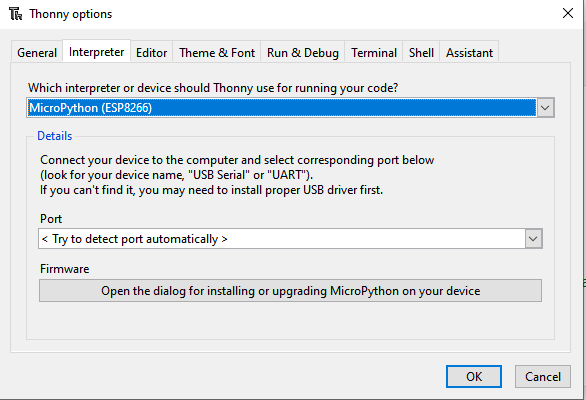
Make sure thet the ESP8266 development kit is connected. Select the “port dropdown” arrow to select the serial port for flashing the ESP8266.
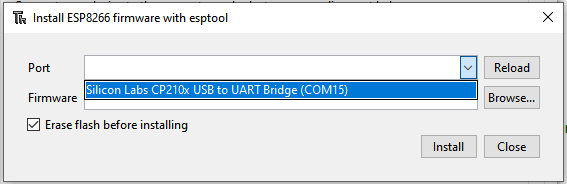
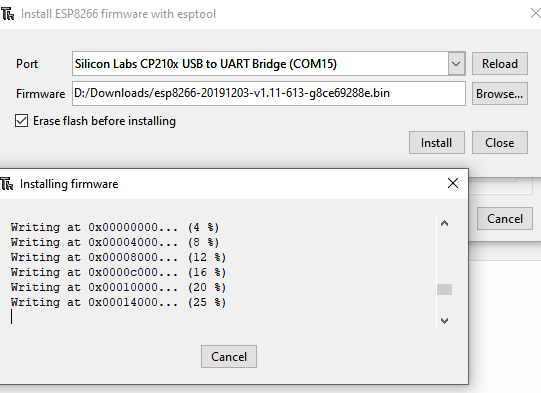
In the “Firmware” text field select the .bin file that was downloaded and click the install button
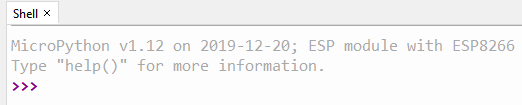
Click the stop icon to reset and connect to the ESP8266 board

Now you should be up and running as shown in the thonny shell windows
Running the examples
Start by uploadting the uPy_APDS9960 library.
Uploading uPy_APDS9960
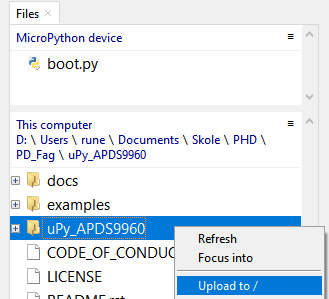
From the files windows under “This computer” right click on the folder “uPy_APDS9960” and from the dropdown menu select “Upload to /”
Running a example program
From the files windows under “This computer” click on the ‘+’ sign infront of the folder “examples” to expand it.
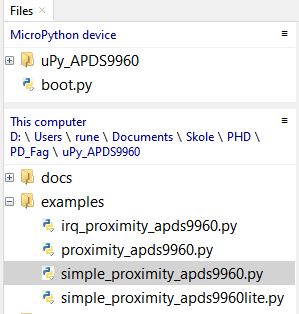
Double clikc on the file simple_proximity_apds9960.py and it wil be open the the editor
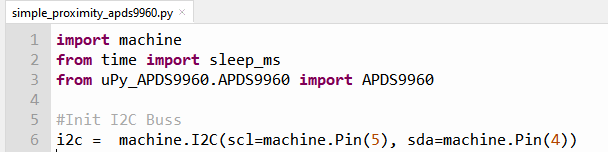
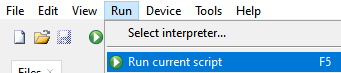
You are now ready to run the program entring F5 or selecting the menu “Run” and “Run current script”
Click the stop icon to stop the program and return the command prompt
Have fun :)